
Rivage First-Hour Demo Walkthrough
A room-by-room route through the dedicated Rivage demo path, not the full September 22 campaign.
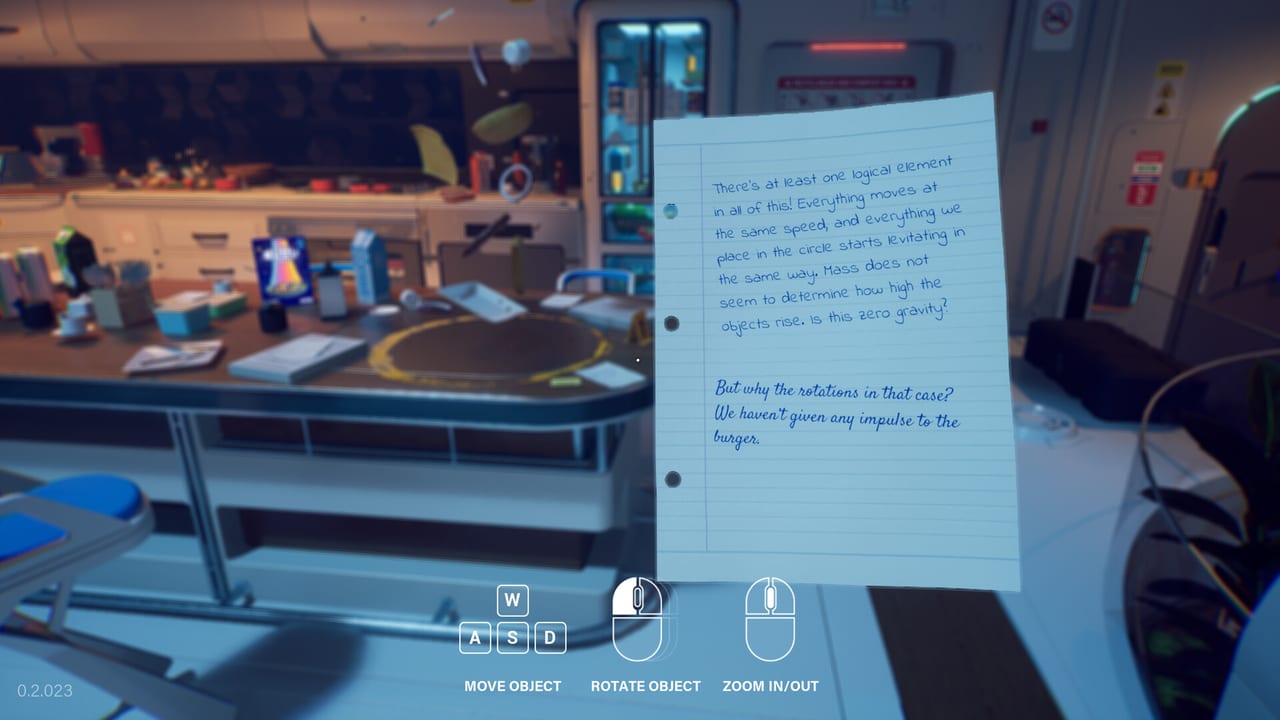
This walkthrough follows the dedicated Rivage demo path: roughly one hour as Miranda Vigneau on station A.R.E.S., date-stamped May 1, 2467. It is not a full-game guide. The public Steam demo was pulled after the delay from August 13 to September 22, but local copies still run, and the route below is what player videos recorded on that path. Saves from this hour do not carry into the launch build.
Read the demo notes for save rules and the time-loop explainer if you have not yet accepted that POWER ends the run. Keep K9 open from the first room. You can hold one item at a time. Entering extra rooms is how loops die.
Quarters, emails, and the Stardust safe
You wake in Miranda’s cabin. Listen to the K9 reset and the missing-crew alert (about eighty percent of the roster is gone). Look before you leave. The birthday that feeds the password reset is in this space, not later in the station.
Sit at the computer. Work through emails. When the account asks you to recover access, type K, then 000, then the birthday you found. Bank the working password in K9 immediately. The cabin safe opens on Stardust, the title tied to Miranda’s book. Screenshot the hint so you never hunt the spine again under the flashlight.
This room is also your first locker language: glyphs and to-do scraps will matter when Aman’s box shows up. If a prompt mentions gathering belongings or a kitchen box, photograph it. Miranda’s page collects who she is; this walkthrough only needs what her desk gives you.
Crew corridor, kitchen, astro lab, dock
Leave the cabin into the crew corridor. Doors you cannot badge yet are information, not failures. Note levels. A level-two reader with a level-one card is a later loop, not a brick wall you should spend power on.
The kitchen is a cluster of ordinary objects that are not ordinary: leftover dishes, food inventory, and the first hints that someone named Johnny left passive notes about batteries. Scan everything, but do not pick up a cell until you know where it has to live.
The astro lab holds a cube puzzle. Treat it as a physical machine, not a menu. Rotate, test, and screenshot any symbol that matches a locker in the cabin. When the cube yields, return through the kitchen for the anomaly beat: something in this wing does not match the last time you walked it. That mismatch is the game teaching you that A.R.E.S. edits itself between visits.
The dock system is the last cluster before the first blackout for many players. Boot only what you need. If the power bar is already thin, skip sightseeing through glass. You want enough energy left to reach storage when the lights die, because that is where Time Trickster sits.
First loop: blackout, flashlight, Time Trickster
When intensity drops, K9 tells you to activate the flashlight. Do it. Some manual doors and storage gates open because of the failure, not in spite of it. Food storage that was locked under evacuation logic can swing free. Inside, the unplugged arcade cabinet labeled Time Trickster is the reset. Interact when you are ready to bank the loop.
You keep K9 knowledge. You lose the physical object in your hand. If you were carrying a battery toward the pharmacy and did not seat it, that cell is back on the floor. Plan the next loop around seating, not around holding.
Emergency pharmacy batteries and the pod bay
Johnny’s note is the route: emergency pharmacy batteries must remain next to the machine, and three cells are scattered across floors. Typical demo placements players used:
- one near the pharmacy itself
- one in the robotics / workshop wing
- one in cultivation / plants
You cannot juggle all three. Seat the first, fetch the second, seat it, fetch the third. The machine can still accept a cell after the grid dies if you are already there. That is why the loop planner exists: the third pickup often costs the last of station power, and you still need to stand at the pharmacy.
Once the pharmacy has its cells, open services. The option that advances the demo path is bay pod access (pod bay). Do not spend the menu on flavor ailments unless you have power to burn. The pod bay is a short exploration beat that feeds the next character puzzle, not a shuttle ride off VESTA.
Aman’s key, box, and the broken keycard
Aman’s trail is the second half of the hour. A note or locker task tells you to gather his belongings and retrieve the key to his box. In the demo path, that key turns up in Miranda’s own locker after you know to look, which is a story beat as much as a fetch. Take the key to the kitchen box. Inside is the next breadcrumb toward a usable badge.
The broken keycard is a reconstruction puzzle: card identifier plus barcode, assembled from damaged pieces and on-screen traces. Players who rushed the numbers mistyped because the interface clicks as you drag. Screenshot each segment, enter slowly, and let K9 store the finished code. A successful card grants a higher access level (level two on this path). Aman’s cabin door can still be physically broken; a better card does not magically unsmash glass. Use the card where readers still work.
Lobby: jigsaw audio, computer, locker, color panel
The lobby is the demo’s thesis room: a floor map, mixed keycard levels (including a level-four tease you will not satisfy here), leftover food, and a computer that wants wireless or exhibition access you earn in this wing.
The jigsaw audio puzzle asks you to assemble a sound or log from pieces rather than from a keypad. Listen, match, and bank the result. Then use the lobby computer with whatever access you just earned. Aman’s locker is the character payoff: a tablet, a disk, a log that speaks to Miranda. Play it. The crew page is where those names sit in the wiki; do not skip the audio because you are hunting the last panel.
The color panel is the closing machine for this path. It is a physical color/logic board, not a hidden menu. If a previous screenshot shows a sequence from a lab or locker, this is where it spends. When the panel accepts the sequence, you are at the demo wall. Some side objects (a battery charger, a screwdrivered USB, a code you never found) may remain inert. That is the dedicated path ending, not a missing chapter of the full game.
How to use this route on launch night
On September 22, 2026, do not paste this list into the shipping campaign as if A.R.E.S. were frozen. Use it as grammar: emails before safes, batteries as logistics, blackouts as doors, K9 as the only inventory that matters. Then open the guides hub and the puzzle catalog for families that the full station will repeat in new rooms.
If a later patch changes a prompt, check updates and news. This walkthrough is a first-hour field report from the demo path, written so you can finish that hour without stranding a battery in the wrong wing.
Frequently Asked Questions
Quick answers to the most common questions.
Is this a full Rivage walkthrough?
No. It is a first-hour route through the dedicated demo path. The full game launches on September 22, 2026 and is larger than this lobby-and-pharmacy loop.
What is the safe password in the opening cabin?
The cabin safe uses Stardust, tied to Miranda's book. Find the hint in quarters, then store it in K9 so you do not retype it after a reset.
How does the birthday password reset work?
On the cabin computer, the recovery prompts are K, then 000, then the birthday you find in Miranda's quarters. Do not guess a date from this wiki; read the room.
Where do the three pharmacy batteries go?
Seat all three next to the emergency pharmacy machine. Typical demo spawns are near the pharmacy, in robotics/workshop, and in cultivation. Carry one at a time.
What does Time Trickster do?
It is the arcade cabinet that triggers a loop reset after power fails. See the time-loop guide for what carries and what does not.